How to Fix the Issue “Task Scheduler Service Is Not Available” in Windows 10 and 11
The Task Scheduler, one of the built-in Windows tools, allows users to set up and configure automated tasks. However, sometimes a problem can occur where Task Scheduler is not available or shows the error message “Task Scheduler Is Not Available.” Some users have encountered this issue, especially when attempting to manually run various tasks within the Windows 10 and 11 operating systems.
If such a problem is fixed, the user will be able to access the Task Scheduler. What to do when such a problem appears within the Windows 11 and 10 systems? How to solve this problem?
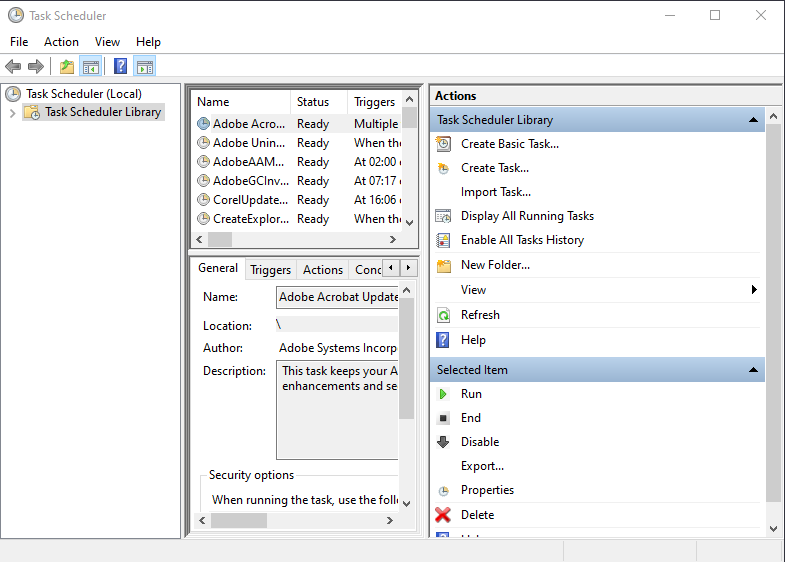
1. Try changing the network state of Task Scheduler
The error “Task Scheduler service is not available” can occur due to the network state setting chosen for a specific task. This condition will set the task to run only if a specific network connection is available. If you encounter such issues, try disabling the network state setting related to the specific task. You can do this by following these steps:
- Open the Run window using Win + R, type “taskschd.msc” into the Open text box, and click OK.
- Click on “Task Scheduler” in the left sidebar.
- Find and right-click on the task for which you’re encountering this error, then select Properties. Next, choose “Conditions.”
- Uncheck the checkbox next to “Start only if network connection is available” to disable this setting if it’s selected.
- Click OK in the task properties window.
- Exit Task Scheduler and restart your computer.
You can find all tasks that are set to use specific network connection IDs with PowerShell. To do this, execute the PowerShell command that will show you tasks with network conditions. Here are the steps:
- Click on the Windows 11/10 system search box or the magnifying glass icon on the taskbar.
- Type “PowerShell” to find the application.
- Open the application with elevated system privileges by right-clicking on the PowerShell result in the search tool and selecting “Run as administrator.”
- Copy and paste the following command by selecting the text and pressing Ctrl + C:
- Press Ctrl + V to input the command into PowerShell and then press Enter. You should see a list of task file names with specific network conditions. Double-click on each of these tasks in Task Scheduler to disable their network conditions, following the instructions provided earlier.
2. Edit the registry key for the schedule
Some users have managed to resolve the “Task Scheduler Service Is Not Available” problem by editing the Schedule Registry Key. The way these users fixed this issue is by changing the Start DWORD value for the Schedule registry key to Automatic. Here’s how you can try to fix this problem by modifying the schedule registry key:
At the same time, press Win + S, type “regedit” and press Enter to open the registry editor. After that, clear the current path in the registry editor’s address bar and enter the following key location:
Computer\HKEY_LOCAL_MACHINE\SYSTEM\CurrentControlSet\Services\Schedule
- Select the button labeled “Schedule” on the left sidebar.
- Double-click on the “Schedule” DWORD.
- Enter 2 in the “Value data” field if the Start DWORD is set to something else.
- Press OK to set the new initial DWORD value.
- Close the Registry Editor application and choose to restart your Windows 11 or 10 system, depending on which one you are using.
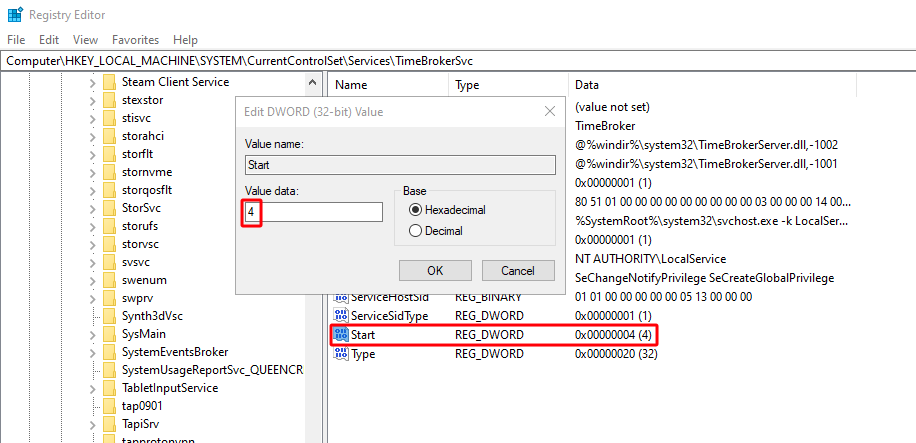
3. Edit the registry key named “TimeBrokerSvc.”
The problem called “Task Scheduler Service Is Not Available” can also occur when the Task Scheduler service itself is disabled. One potential way to fix this issue is by changing the Start DWORD values for the TimeBrokerSvc registry key. You can do this by following these steps:
Launch the Registry Editor. You can open this tool using Windows’ file search tool.
Navigate to this registry key, TimeBrokerSvc:
HKEY_LOCAL_MACHINE\SYSTEM\CurrentControlSet\Services\TimeBrokerSvc
- Double-click the Start DWORD for the TimeBrokerSvc registry key.
- The initial DWORD value should be 3. If it’s set to 4 or anything else, delete the current value and enter 3 in the data field.
- Select OK to save the value and exit the DWORD window.
- Press X in the registry editor window.
- Click the Start button and then restart your computer.
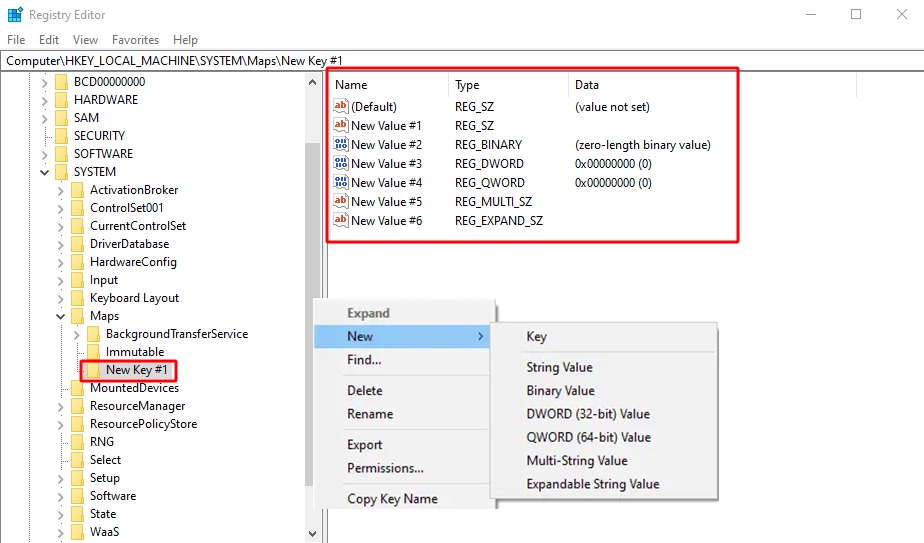
4. Rename the “Tree Registry Key.”
A damaged or, for any reason, faulty subkey task within the tree registry key is another possible cause of the error “Task Scheduler Service Is Not Available.” As a user, you can check if this is causing the issue by renaming the tree registry key. You can do this as follows:
Launch the Registry Editor and then navigate to the following location within the registry editor:
Computer\HKEY_LOCAL_MACHINE\SOFTWARE\Microsoft\Windows NT\CurrentVersion\Schedule\TaskCache\Tree
- Right-click on the tree registry key and select Rename.
- Enter “Tree.old” to rename the key.
- Open Task Scheduler and try running the affected tasks. This may resolve your issue. If this potential solution doesn’t work, let’s move on.
If the error is not resolved after renaming the tree key, it means that the damaged task is the actual cause of the problem. In this case, you’ll need to identify and delete the key for that task. It’s recommended to create a backup of the registry before doing this, as these are crucial Windows system files. After creating a backup, follow these steps to continue editing the registry:
- Rename the Tree.old key back to Tree.
- Double-click the Tree key to expand it.
- Right-click on the first subkey of the task and select Rename. Add the suffix .old to the end of the key. Then, go back to Task Scheduler and try running the task that was affected by the issue to see if the error message reappears. If the error still persists, revert the key you just renamed to its original name by removing the added .old suffix.
- Repeat the previous four steps for other subkeys of tasks within the tree key until the problematic error message appears again. Once it appears, delete the last damaged key you renamed. You can do this by right-clicking on that key, then selecting Delete and confirming the deletion.
5. Restore Windows to its factory settings
Restoring Windows to its factory settings is the last resort solution, not only in the case of this error but in the case of any error. If you choose to do this and restore Windows to its factory settings, you will almost certainly resolve the problem. Considering how drastic this potential solution is, you should only apply it as a last resort if none of the other potential solutions yield results.

ABOUT IVAN
Freelance Computer Technician and Creative WordPress Developer based in Germany, helping clients troubleshoot computer problems by remotely accessing their systems. I also create dynamic, responsive web designs that look great on all devices – from small to medium-size businesses.